Part 3 of 9 · 5 min read · Updated 1 October 2026
How to add items with a photo
Snap or upload a photo and Lootbot reads it and fills in a name and description. Add the details collectors care about, plus what you paid, which always stays private.
Start a new item
Tap ⊕ and choose Create Item, or use the round + button on the My Items tab. (No collection yet? Make one first; every item lives in a collection.)
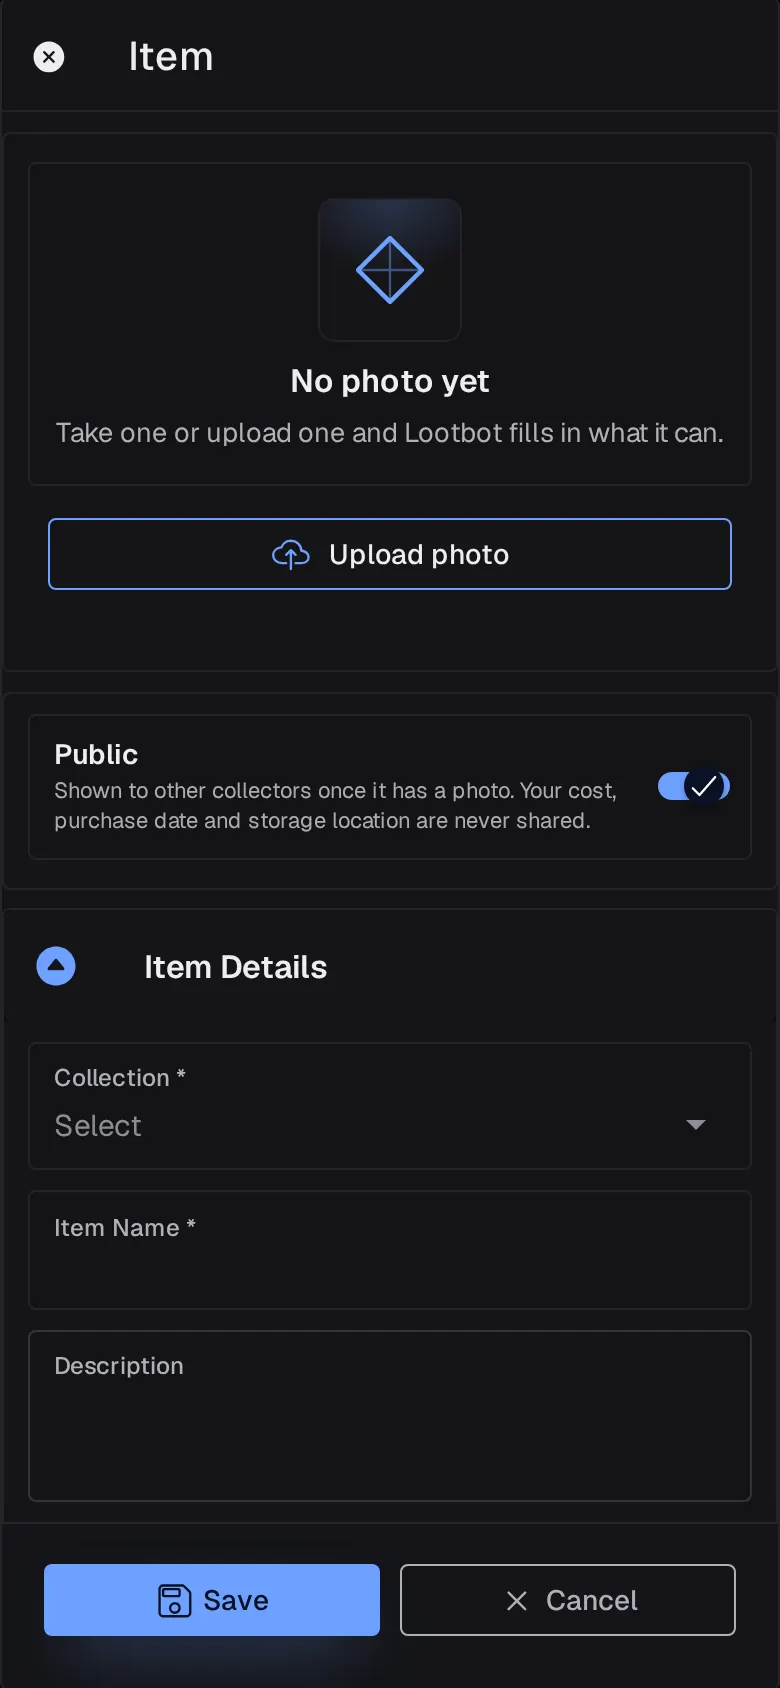
Add a photo and let Lootbot read it
- Tap Take photo to use your camera, or Select photo to pick one from your library. On a computer it's Upload photo. Photos must be under 10MB.
- Lootbot, Lootero's built-in assistant, reads the photo while it shows Scanning….
- A few seconds later it fills in an Item Name and a Description based on what it sees. Check them and change anything it got wrong.
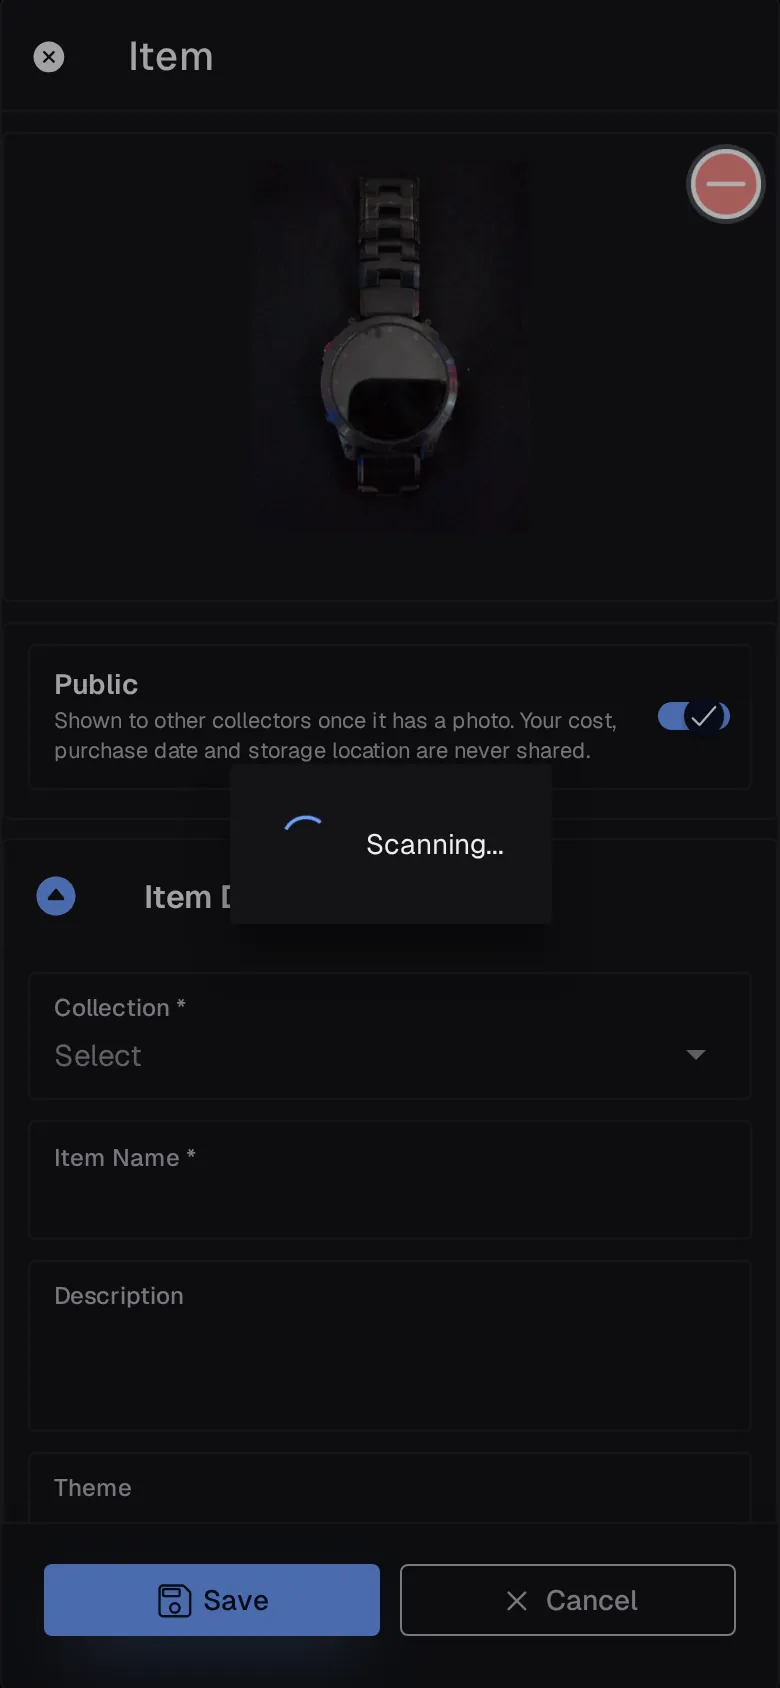
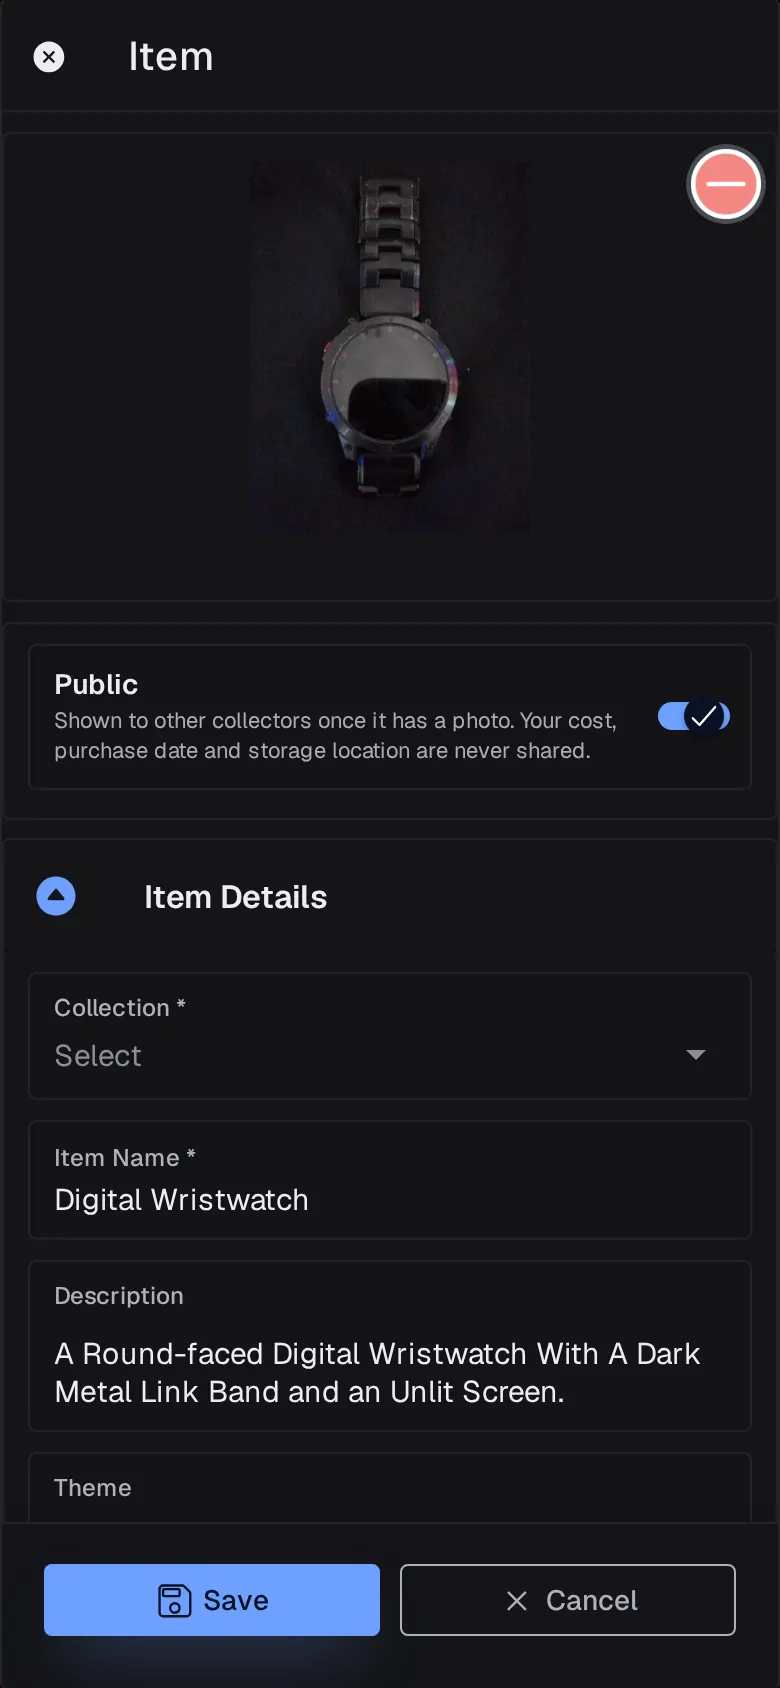
Good photos make for better results and a better-looking collection: shoot in daylight against a plain background, fill the frame with the item, and include the label or slab for graded cards and coins.
Fill in the item details
Open Item Details and fill in what you know. Only Collection and Item Name are required, but every detail makes filtering, valuing and sharing work better:
- Collection: which shelf it goes on.
- Theme and Series: the broad area (Trading Cards & TCG, Watches) and the line within it (Pokémon, Final Fantasy).
- Type and Brand / Maker: what kind of object it is and who made it.
- Condition: Mint, New, Used, Damaged or Broken.
- Grading: the grade from PSA, BGS, CGC, SGC, TAG, PCGS or NGC, or Raw / Ungraded.
- Year made, Rarity, Country of Origin and Color.
Most of these are pick-lists you can search. If your value isn't on the list, tap Add at the top of the list to type your own.
Storage & Value (always private)
The Storage & Value section is never shown to anyone else, even when the item is public:
- Last Collected on (required): the date you got it.
- Storage Location: where it lives, like the safe or the top shelf.
- Quantity: how many you have.
- Total Cost and Estimated Total Value: what you paid and what you think it's worth. Leave them as 0 if you don't know.
Public or private?
The Public switch near the top decides whether other collectors can see the item in the Collector's Feed and through share links. A public item needs a photo, and your cost, purchase date and storage location are never shared. You can change this any time; see sharing your collection.
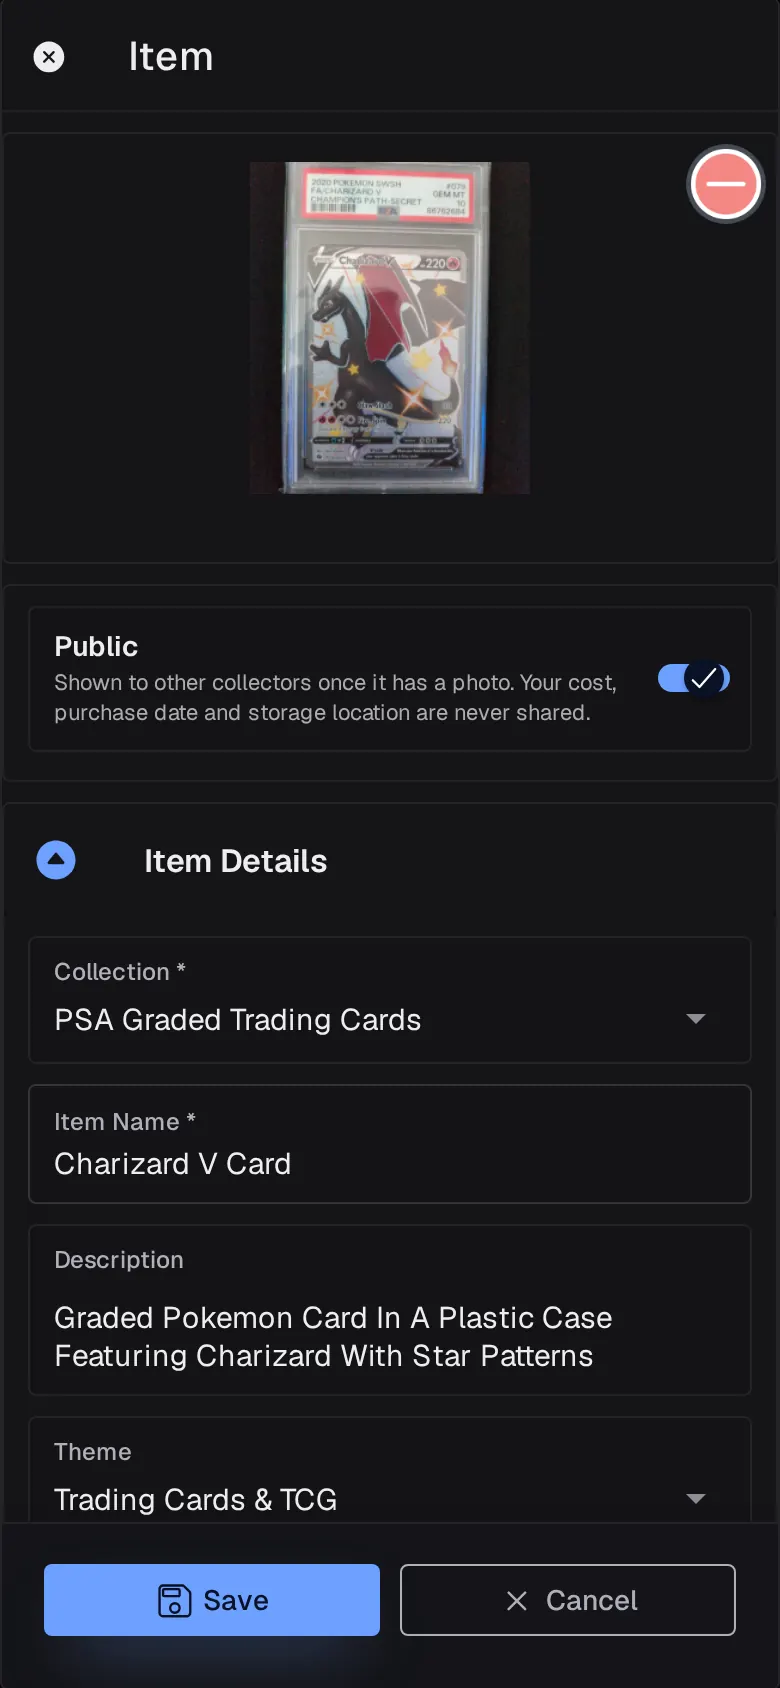
Tap Save and the item appears in its collection and on the My Items tab. Each new item or collection uses one credit; see settings and credits. Next: organise, search and filter your items.